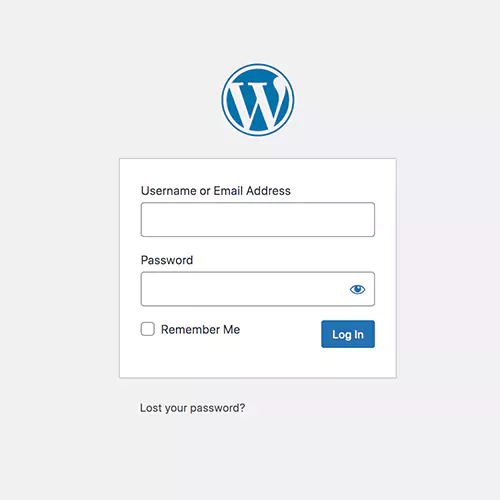
Step 1: Log in to Your WordPress Dashboard
- Go to your WordPress site’s admin URL (website.com/login).
- Log in with your admin username and password.
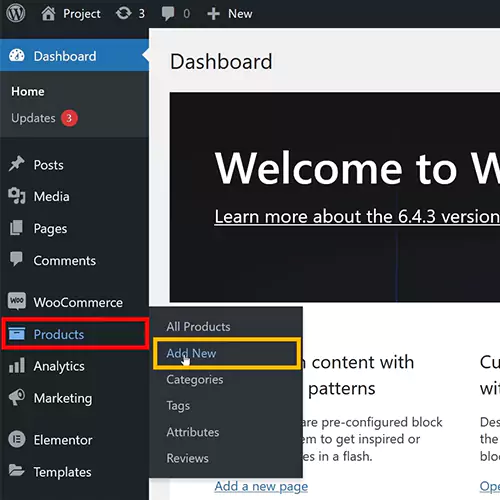
Step 2: Navigate to Woo Commerce
Once logged in:
- In the WordPress dashboard, go to the left-hand sidebar and find “WooCommerce”.
- Under WooCommerce, click “Products” and then select “Add New”
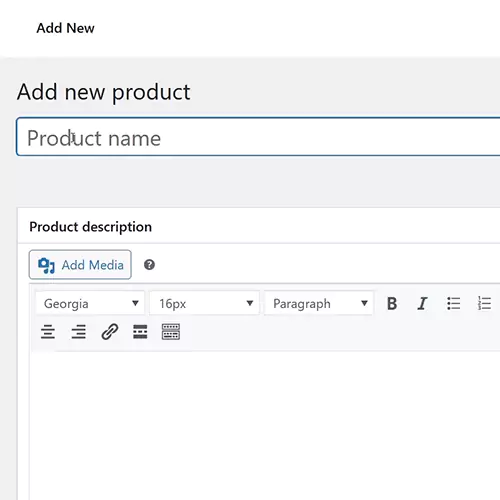
Step 3: Add Product Title and Description
- Product Title: Enter the product’s name in the title box (e.g., “Blue Cotton T-shirt”).
- Product Description: Below the title box, you’ll find a large text editor box where you can add a detailed description of the product. This is where you describe the features, materials, or uses of the product.
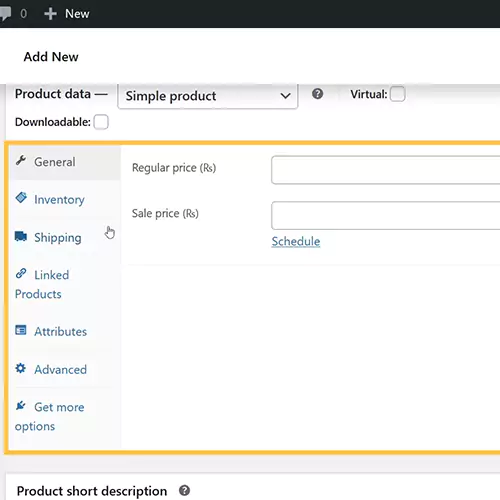
Step 4: Set the Product Data
Scroll down to the “Product Data” section. This is where you configure the most important details of the product.
Product Type:
- Choose Simple product: A basic product with no variations.
General Settings:
- Regular Price: Enter the regular selling price of the product.
- Sale Price: (Optional) Enter the discounted price if you’re running a promotion.
Inventory Settings (if applicable):
- Click the Inventory tab in the Product Data section.
- Enter the SKU (Stock Keeping Unit) if needed.
- Check Manage Stock if you want to track stock levels and specify the stock quantity.
Shipping Settings:
- Go to the Shipping tab.
- Add the product’s weight, dimensions (length, width, and height), and select a shipping class (if applicable).
Linked Products (Optional):
- Use the Up-sells and Cross-sells options to promote other products on the product page or checkout.
Step 5: Add a Short Description
- Below the “Product Data” section, you’ll see another text editor called Product Short Description. This short description typically appears next to the product image on the product page, so make it concise and appealing.

Step 6: Add Products to Categories
- In the right-hand sidebar, you’ll find a box labeled Product Categories.
- Check the box for the appropriate category (e.g., “Clothing”, “Accessories”). You can also create a new category by clicking the “Add New Category” button.
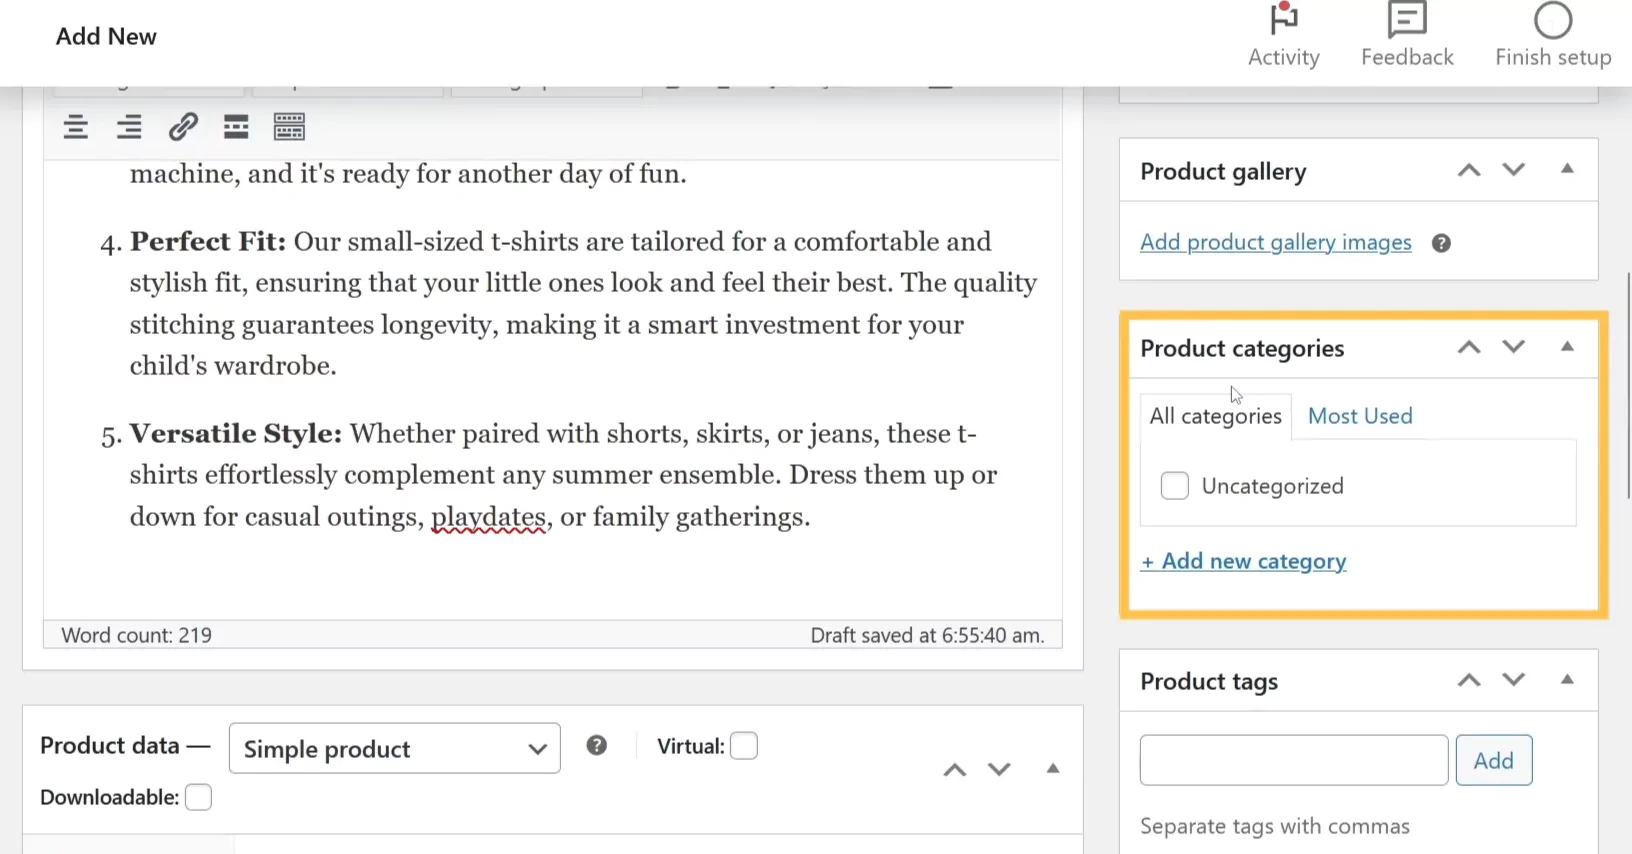
Step 7: Add Product Tags (Optional)
- Below the Product Categories, you’ll see Product Tags. Enter relevant tags that describe your product (e.g., “cotton”, “summer”).
- Tags help with SEO and organizing similar products.

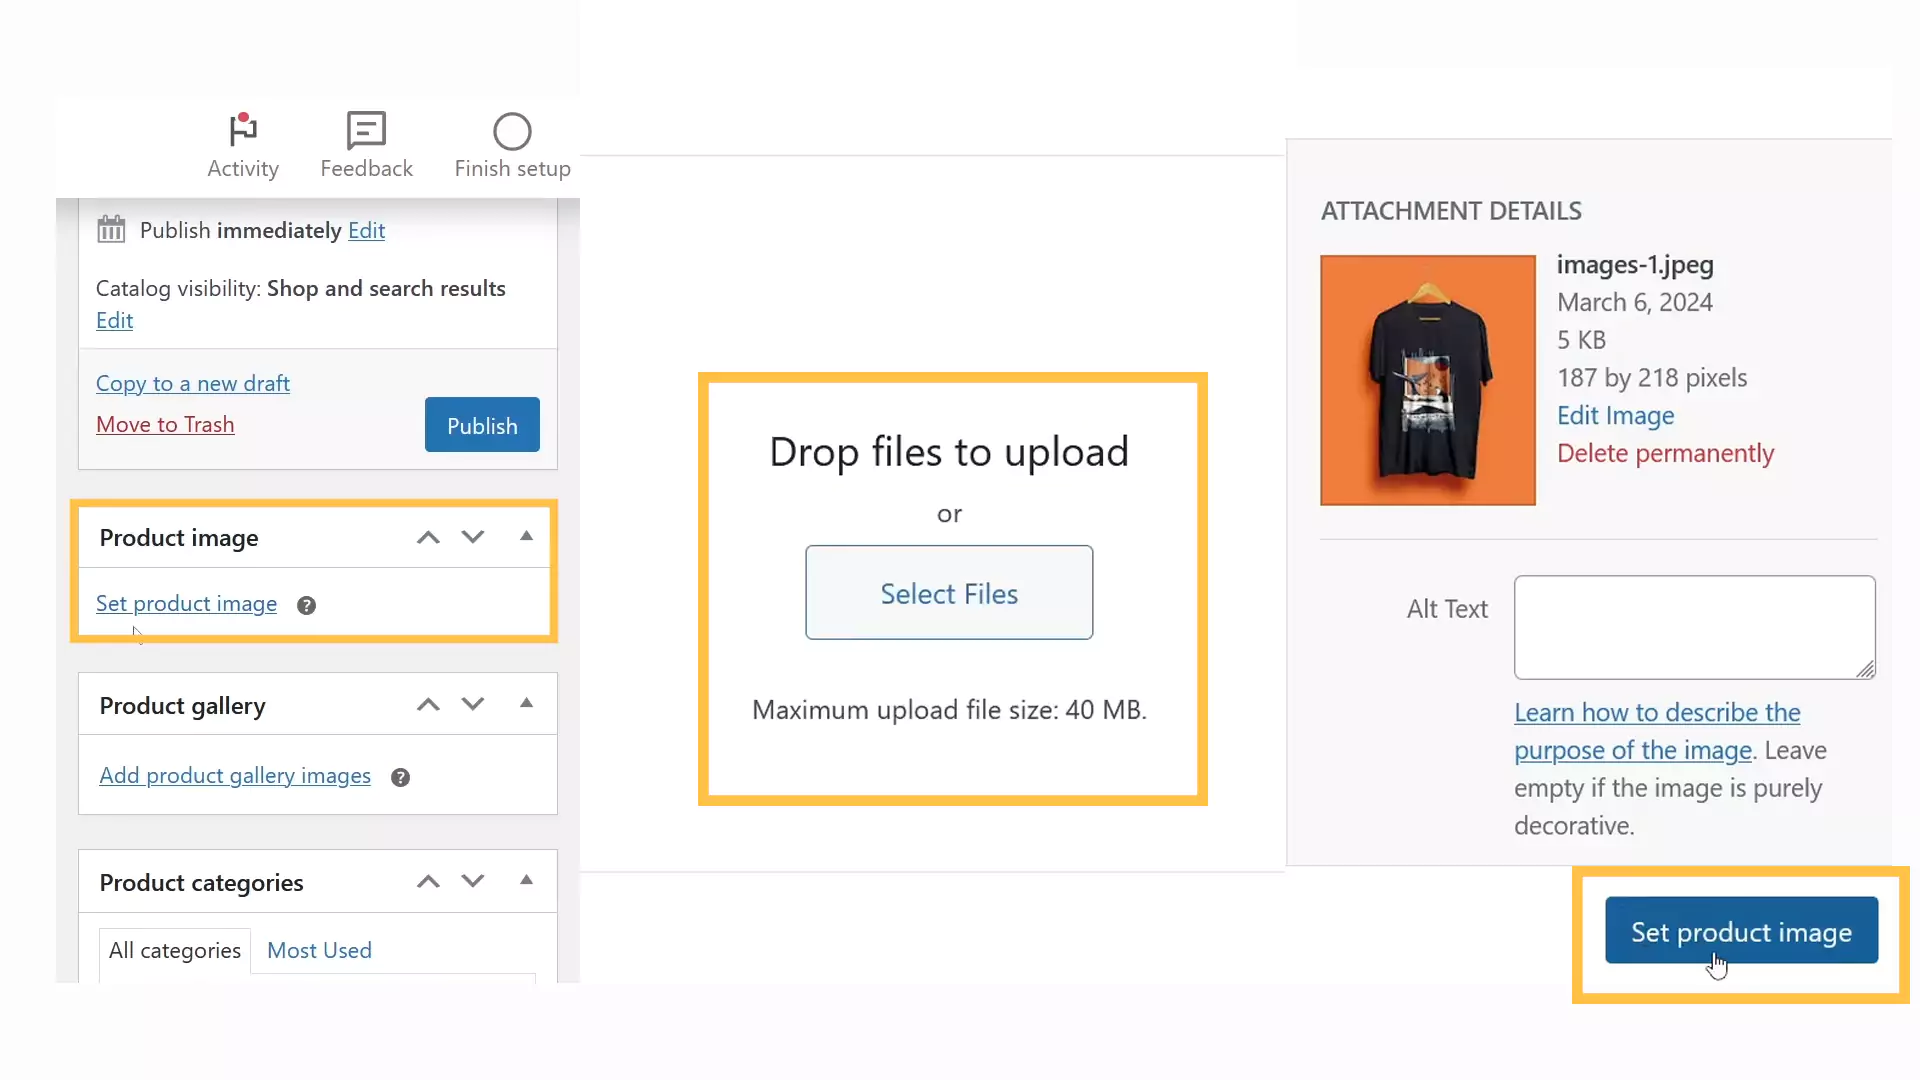
Step 8: Add Product Image
- In the right-hand sidebar, find the Product Image box.
- Click “Set Product Image” to upload or select the main product image from your media library.
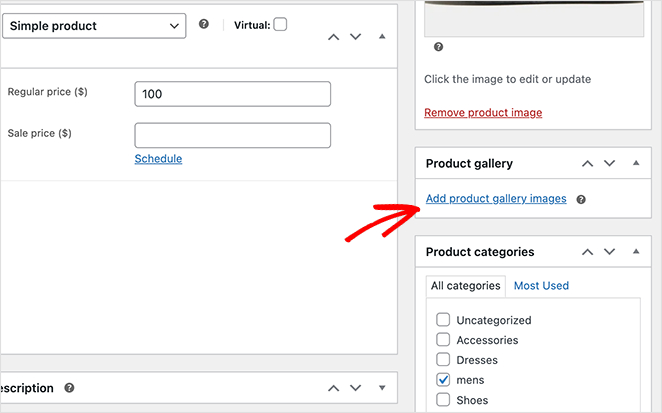
Step 9: Add Product Gallery Images (Optional)
- If you have additional product images, scroll down to the Product Gallery box (below the Product Image section).
- Click “Add Product Gallery Images” to upload or select multiple images that will appear in the product gallery.
Step 10: Set Product Visibility and Publish
- Product Visibility: In the “Publish” box on the right-hand sidebar, make sure the Catalog visibility is set to “Shop and search results” if you want the product to be publicly visible.
- Status: Make sure the status is set to “Published” if the product is ready to go live.
- Click the “Publish” button to make the product available on your site.