How to Add New Products Using the WooCommerce App: A Simple Guide


Rick
Muplix Founder
Adding products to your online store doesn’t have to be a desk-only task. With the WooCommerce mobile app, you can add, edit, and manage products directly from your smartphone or tablet, making it convenient to keep your inventory updated on the go. In this guide, we’ll walk you through each step to add new products using the WooCommerce app.
Why Use the WooCommerce App?
The WooCommerce app offers flexibility and convenience, especially for store owners who are frequently on the move. With it, you can:
- Quickly upload product details and images.
- Check inventory and update stock levels.
- Respond to customer inquiries.
- Monitor your store’s sales and analytics in real time.
Step 1: Download and Install the WooCommerce App
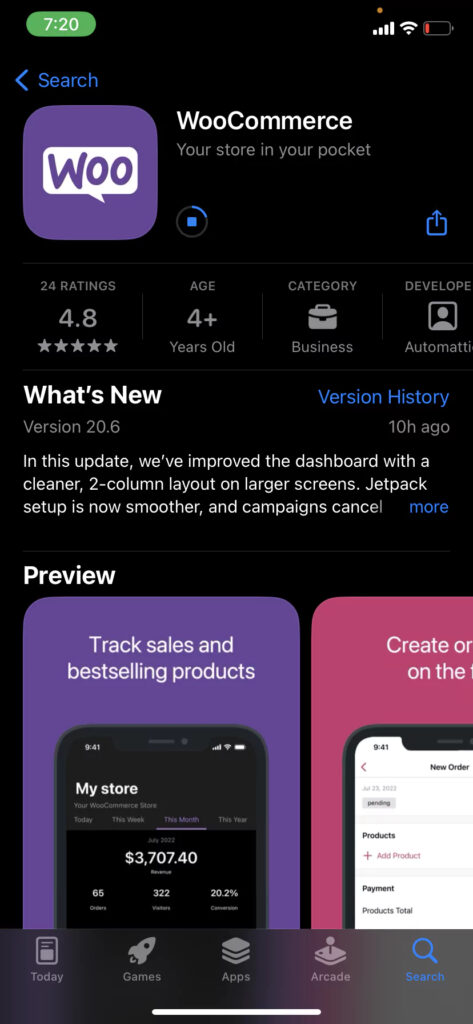
- Download the App:
- For iOS: Go to the App Store and search for “WooCommerce.”
- For Android: Go to the Google Play Store and search for “WooCommerce.”
- Install the App and open it once it’s downloaded.
Step 2: Log in to Your Woo Commerce Store
- Open the WooCommerce App.
- Log in using your WordPress admin credentials associated with your WooCommerce store.
- Grant any necessary permissions (like notifications) when prompted.
Step 3: Navigate to Products
- Once logged in, you’ll see the app dashboard.
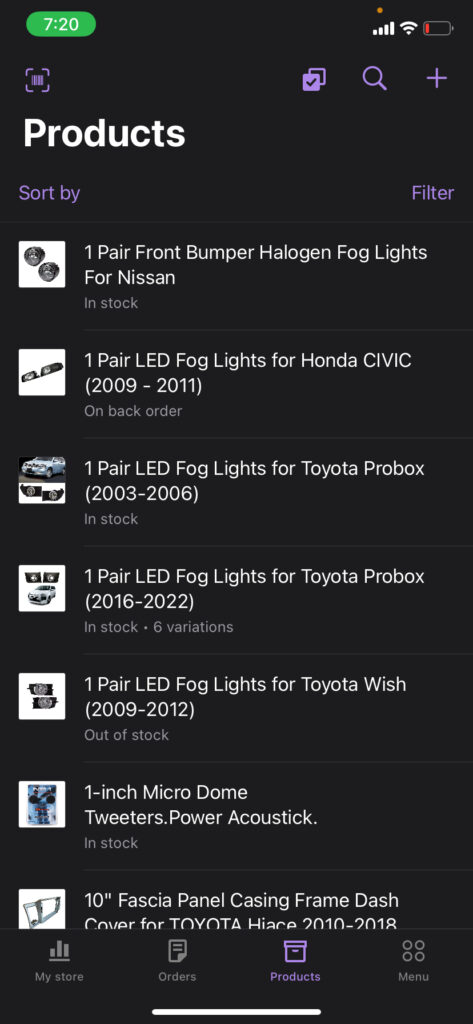
- Tap on the “Products” option from the bottom menu. This will take you to your existing products list.
Step 4: Add a New Product
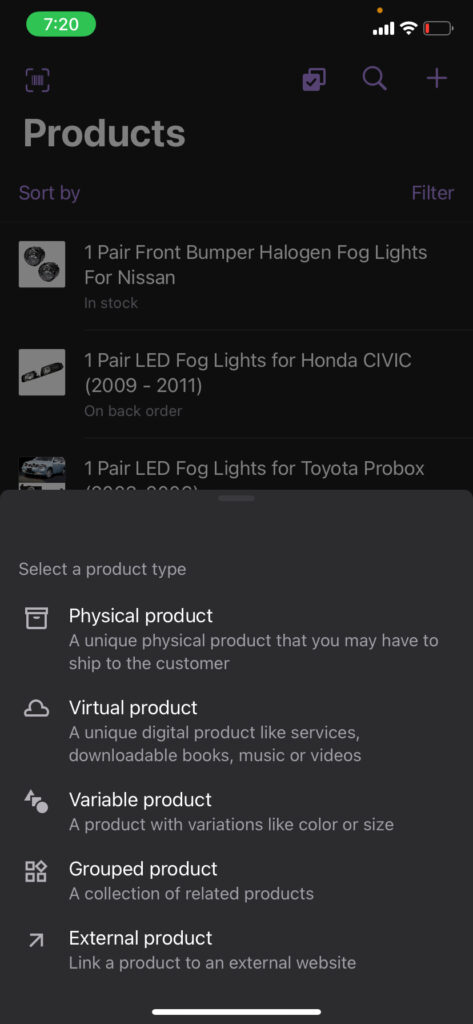
Tap the “+” button (usually located in the top right corner of the screen) to add a new product.
Step 5: Enter Product Information
- Product Name:
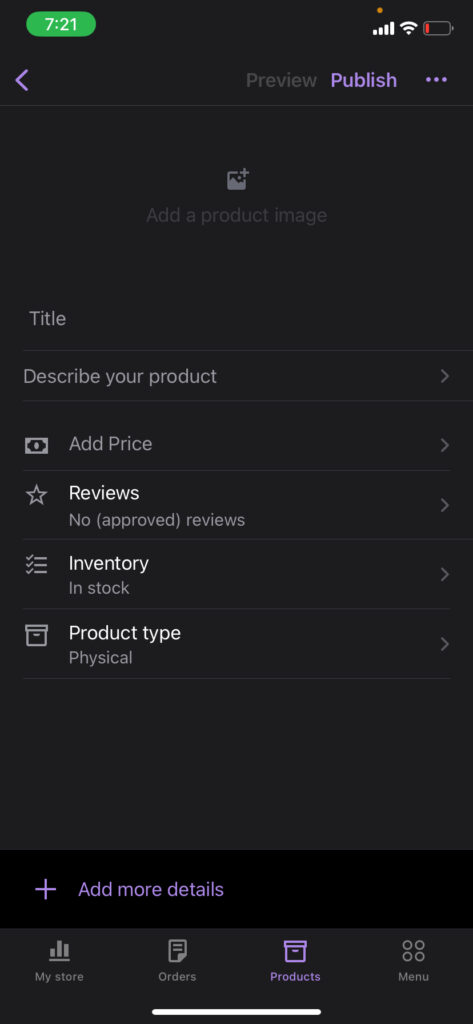
- In the “Name” field, enter the product title (e.g., “Blue Cotton T-shirt”).
- Product Description:
- Scroll down to find the “Description” section.
- Enter a detailed description of the product, including features, materials, and uses.
- Product Short Description (if available):
- There may be a separate field for a short description. This is usually a concise summary that appears on the product page.
Step 6: Set Product Data
- Product Type:
- Under the “Product Type” section, choose whether it’s a Simple Product, Variable Product, or others depending on your needs.
- Regular Price:
- Enter the regular price in the “Regular Price” field.
- Sale Price (if applicable):
- If you’re offering a discount, enter the sale price in the “Sale Price” field.
- Inventory (optional):
- If you want to manage stock levels, enable “Manage Stock” and enter the stock quantity.
- Shipping (if applicable):
- Scroll to the Shipping section and enter the weight and dimensions for shipping calculations.
Step 7: Add Product Images
- Product Image:
- Tap on the “Product Image” section.
- Choose “Add Image” to upload a main image for your product from your device.
- Product Gallery (optional):
- If you want to add additional images, look for an option to add a “Product Gallery” and upload extra images.
Step 8: Add Product Categories and Tags
- Scroll down to the Categories section.
- Tap on “Add New Category” to create a new category or select existing categories for your product.
- For Product Tags:
- If available, add relevant tags to help organize and enhance searchability.
Step 9: Set Visibility and Publish
- Product Visibility:
- Make sure the product is set to be visible on the store (usually by default, it will be).
- Save and Publish:
- Tap the “Save” or “Publish” button (typically in the top right corner) to make the product live on your store.
Step 10: Review Your Product
- Once published, navigate to your store front (you might have to do this via a web browser) to check how the product appears.
- Ensure that images, pricing, and descriptions are displayed correctly.
Using the WooCommerce app to add and manage products makes store management incredibly convenient. Whether you’re traveling or simply prefer managing your store from a mobile device, the WooCommerce app gives you the flexibility to run your business wherever you are.
With this guide, you’re now ready to add new products to your WooCommerce store with ease, ensuring a seamless shopping experience for your customers!
